Sunday, February 27, 2011

Vinyl


My best buddy Kierste over at Brown Paper Packages surprised me for my birthday last month with this oh so lovely - exactly what I'd been wanting and dreaming of - vinyl for my living room.

I literally had been wanting it for a really long time and she finagled a way with the hubby to get me - and guess what? I think it looks absolutely perfect.

Check out Writings on the Wall for any and all your vinyl needs - it's perfect for anywhere and everywhere :)


Photobucket

Tuesday, February 15, 2011

ABC Writing Book

I used to be a second grade school teacher in what seems like way 'back in the day' - but in all actuality it was only a few years ago. It makes my heart pitter patter when my little one is finally getting to an age where we can do lots of things together that I used to do in my classroom.


One of those things is handwriting...I love it and am so excited to see my little girlie trying her hand at attempting to perfectly write all of the letters. So when I happened to fall upon this large bundle of handwriting paper at a local dollar store I snatched it up.


I want my kiddos to want and enjoy learning and so we try to make it as fun as possible around here. The desire to start trying to write on her own was peeking out so I thought I'd try and encourage that without being pushy.

We decided to make a book together. I wrote each of the letters on a page, made an example for her to trace, and then stapled it all together with a cover page made of cardstock. Now she has her own little writing book where she is able to practice and keep a record of her progress.


She's loving it and so am I!


Have Fun!

Photobucket

Tuesday, February 8, 2011

Labels

I know I'm not the only one out in blog-land without a vinyl cutter!!! So, in turn I have done some improvising to get my things organized and labeled without the use of vinyl. I'm always on the hunt (especially at this time of year) for baskets, tupperwares, etc. to help me sort out/get rid of junk and store the things I have nicely.


I'm a girl without a mudroom (sad - I know) and I've had these containers in my entryway closet for awhile now. I didn't want to spend money on vinyl so I put to use on of the best gifts my mother has ever given me - a laminator! I love it and use it all the time! Now our containers are organized and everyone can easily put their things back where they belong!
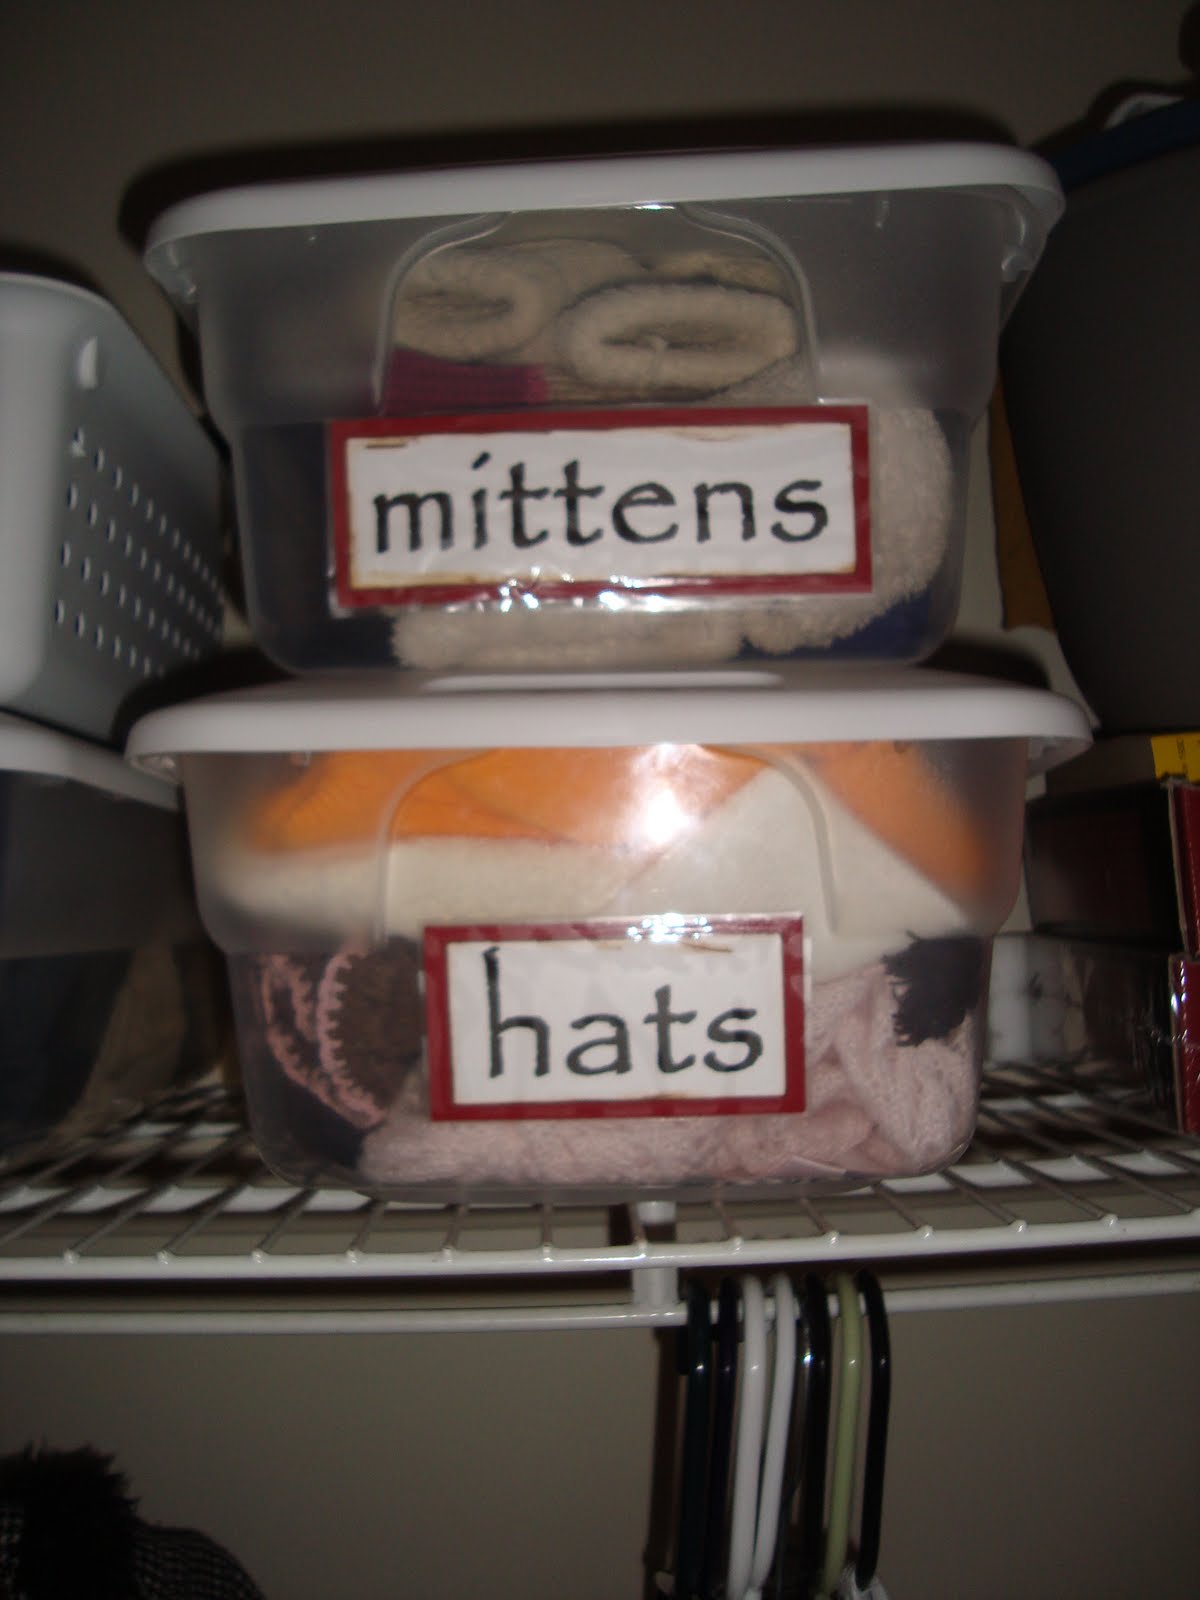
Directions:

1. Make a word document and list all the labels you want in a desired size, color, and font.
2. Printed them off and cut them out.
3. Distress them and mount them on colored cardstock and distress that.
4. Laminate it and tape it to the container.

Have Fun!
Photobucket

Sunday, February 6, 2011

Valentine Wood - Heart Trio

This is another one of those projects and was dug up and created from the scrap box. I have had these 3 heart wreaths forever (I bought them for like 25 cents when a local dollar store was going out of business) and have never found a way to put them to use for Valentine's Day. I could never find a way to hang them, link them together, etc. that worked for me. Then I found this leftover wood from another project and they just happened to fit perfectly!


Supplies:
- 3 pieces of wood (these are 7x9 pieces)
- 3 wreaths (any color or shape would be cute)
- Scrapbook paper and Modge Podge (if desired - you could easily just leave these painted)
- Vinyl or stickers or printed from your computer (mine are stickers)


Directions:

1. Paint your wood using spray paint, craft paint, whatever you have!


2. Cut scrapbook paper to fit the wood. I distressed the edges of the wood and the paper using distress ink.


3. Modge Podge it on. I placed a coat on top as well.

4. Place vinyl/stickers on whenever you'd like saying whatever you'd like!


5. Hot glue your wreaths on.


ENJOY!


Photobucket

Thursday, February 3, 2011

Stacked Blocks

Due to the HUGE storm - the last two days have been snow days at our house. Since we were stuck inside all day we decided to do a little crafting. I was looking for something 'wintery' and headed down to a tupperware I have in the basement full of scraps of wood, metal, etc. I found these blocks and decided to make those cute stacking blocks you see all over blogland these days.


Supplies:
- 3 pieces of wood cut any length you'd like (these are about 3,4,and 5 inches - cut from 2x4s)
- paint
- scrapbook paper
- Modge Podge
- distress ink/stain
- printer, vinyl, or stickers

Directions:
1. Paint the wood blocks any color you'd like. These were just painted white with some craft paint.


2. Distress the edges with ink or stain.


3. Cut scrapbook paper to fit each block and then Modge Podge it on.


4. Add stickers or vinyl. I used white stickers I had found in my scrapbooking stuff. I finished these off with a big brown ribbon.


Have Fun!
Photobucket

Tuesday, February 1, 2011

TuTu


This is one of those projects that I started and then it ended up sitting in the closet for over a year!!! Crazy I know - because it was so easy I have no clue why I waited so long! I still have one more to make so hopefully it won't take me another year to get that one completed!!!

Go on over to Brown Paper Packages for a more detailed and complete tutorial. Even though I followed her directions mine turned out very scrunchy looking - anyone know what I did wrong? Either way they're still cute and the princess loves hers - it's been a staple in our wardrobe these days!

Supplies:

- 1 inch elastic - as long as you need to fit desired waist

- tulle (I divided it up among 3 different colors. I think I got about 1/2 - 1 yard of each) - you may need to adjust how much tulle you need depending on the size you're making.

Directions:

1. Cut elastic to fit waist and stitch ends together by hand or using a sewing machine.

2. Cut tulle into strips - I think mine we're only about 1 1/2 inches wide and the length of the tulle.

3. Tie pieces of tulle around elastic until you reach desired fluffiness.


Have Fun!